
3. Spacecraft Design Drivers, Space and Orbit
Systems Tool Kit (STK) Labs
Using Systems Tool Kit (STK)
What is STK?
“Systems Tool Kit (STK) is a platform for analyzing and visualizing complex systems in the context of your mission. Interact with data from platforms across aerospace, defense, telecommunications, and other industries. Simulate your intended missions and communicate the results with reports, graphs, and stunning 3D animations.” via agi.com
Purpose
This lab will walk through how to install STK and a basic demonstration of STK capabilities useful for aerospace and small satellite applications.
Background and Key Concepts to Consider
- Demonstrating orbit of a spacecraft
- Desired outcomes to analyze
- Calculating the ground track of a satellite in its orbit
- Solar irradiance
- Input surface area of solar panels
- Solar panels efficiency
- How to calculate the power generated from results
Required Materials & Setup
STK Software
- Register and create an account on agi.com
- Look out for an email from AnalyticalGraphics@agi.com with your license and installation information.
- STK Download & License Instructions
- See also:
- STK System Requirements
- AGI Software Downloads: Windows downloads
- AGI Licensing and Free Trials: Additional information
- AGI: Educational Alliance Program: You may check if your school is part of the EAP.
- STK Cloud: If you do not have a Windows OS, STK Cloud is web-browser based and requires subscription after the free-trial expires
Others
- Windows OS – for the desktop version of STK
- A computer mouse (recommended)
- Python (optional, for more calculations from STK reports generated)
Install STK
Log in to the AGI website. Click on the STK button on the Download page to begin downloading the .zip file, in step 1.
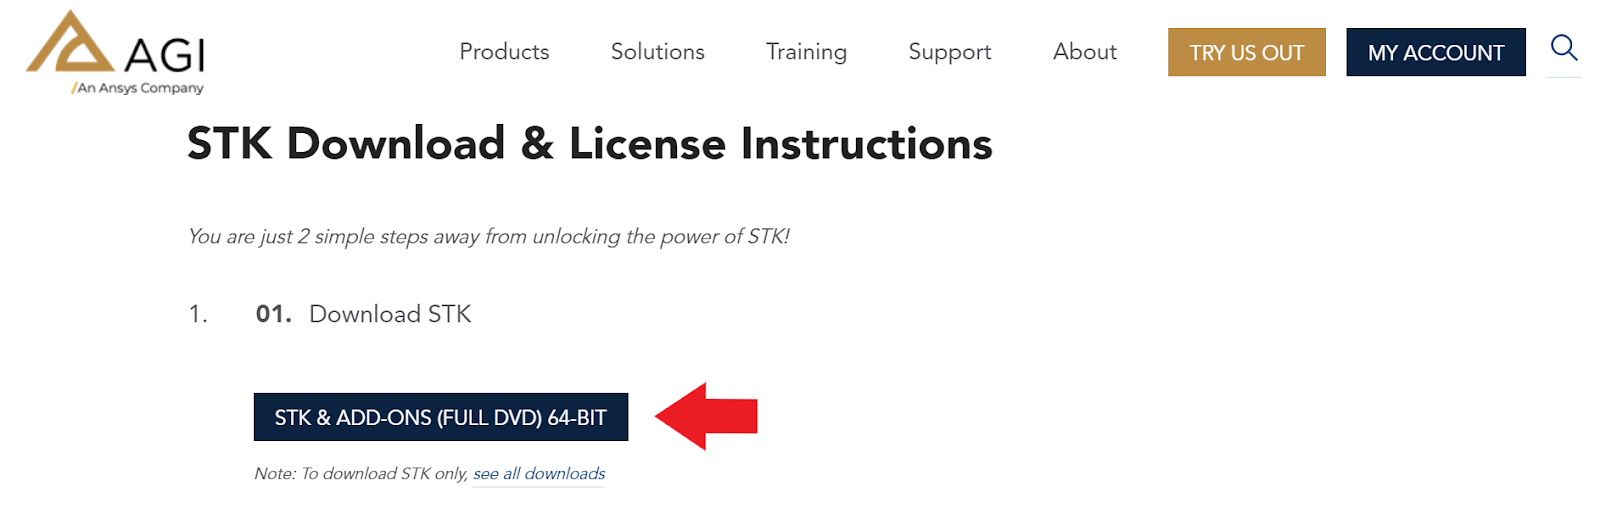
The file should be named something like “STK_v12.1.0.zip”, with a file size of around 3 GB.

Extract all files from the downloaded STK release.zip file and double-click install.exe in the folder to install STK. Follow the steps and prompts on the Installer to install STK.

Download the free license if you haven’t already, in step 2. For more guidance, click on the Question Mark button.
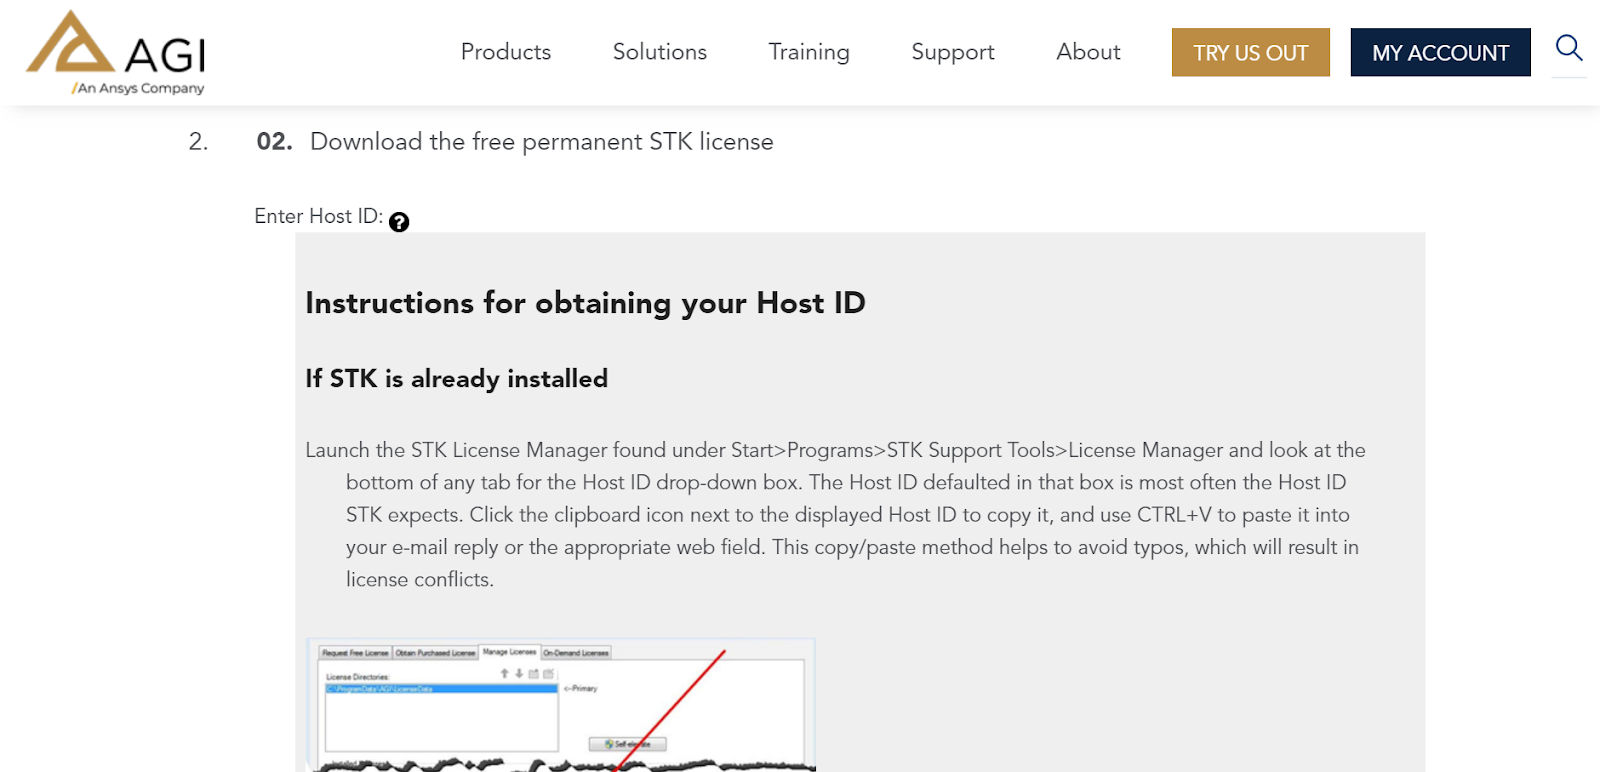
After submitting the Host ID, a license file download should start from the AGI website. The license file should also be delivered in an email from AnalyticalGraphics@agi.com.

The file should appear as a .lic file with STK in the file name.

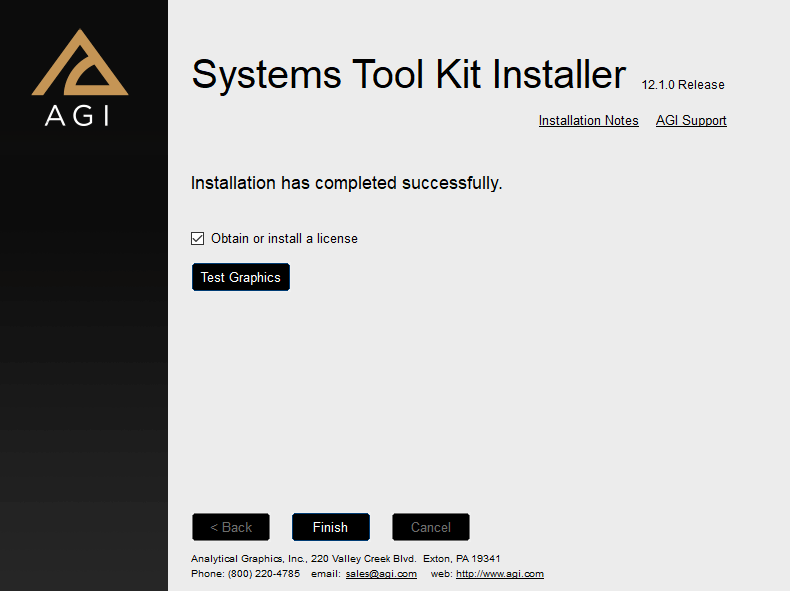
Once STK finishes installing, double-click on the file to install your free license.
Alternatively: When the installation is nearly complete, check the box to “obtain or install a license” to open the STK License Manager. Then, in the “Manage Licenses” tab, click on the “Install a license file” button (document with a plus sign), and select the downloaded license file to install.
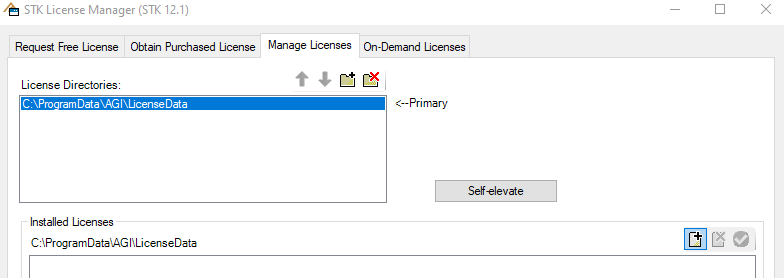
If adding a license is successful, it should appear under the list of “Installed Licenses”. Under “License Status”, STK should also now appear under the Features list, with “Host ID” as the status.

STK should now be ready to use!
If there are additional problems during the installation process, visit the help page: Installing STK Help.

Procedure
Note: To view many of the STK tutorials, you must be logged into your AGI account.
Preliminary Lab Procedures
For this lab, you may want to first run a basic simulation in STK based on Level 1 Training provided by AGI. The beginner-friendly lessons show how to familiarize yourself with the STK workflow and model your own systems and missions in STK. Level 1 Training only requires a free license of STK. Subsequent training for Level 2 requires additional STK licenses and STK Pro.
You can also refer to an introductory STK demo by Dr. Miguel A. Nunes from the spacecraft course, viewable here, starting from timestamp 27:41~ 28:28.
Intro to using STK with Hubble, from Dr. Miguel A. Nunes is a highly recommended activity to practice using STK for first-time users. Additional introductory and advanced level training is available on the AGI website, listed under the References and Other Work section.
Main Lab Procedures
A Level 3 module provided by AGI will be followed for final lab deliverables:
Intro to modeling space-based systems & computing solar power & comms
- Lesson (step-by-step document)
- Pages 1 – 8 provide instructions for demonstrating a basic satellite orbit.
- Pages 1 – 16 provides instructions for simulating solar panels on a satellite.
- Note: For the solar panel simulation, you will need access to STK Pro to use the feature. Lab times will be scheduled for access to computers with STK Pro installed.
Using on-campus lab computers at UHM
Computers in POST 544 (a.k.a the Data Center) are available for classroom use.
- A room code will be needed to enter and will be provided in class.
If entering the Data Center from the side of the hallway with the large, colorful Mars map…
- Light switches are located to the right of the doorway when walking in. Be sure to turn these on/off when entering and exiting the room.
- Computer 1 is located to the left of the open area with the conference tables.

Note: Remember to record your name and time in the white binder on the desk. Use the TV remote control to turn on the monitor. Remember to turn it off when done.
- Computer 2 is located on the right, in the small classroom setting area.

Note: Use the TV remote control to turn on the monitor. Remember to turn it off when done. There is an additional TV remote on the left table if needed.
- Computers should be automatically logged in for guest use.
- If a secure login is prompted, restart the computer. Guest users should then be logged in. If login issues persist, ask for assistance from the instructor/lab monitor.
- Computers on-campus use STK version 11. If importing data from future versions of the software, data or features may be lost.
Some reminders for on-campus access:
- Do not report to campus if you are experiencing any symptoms or have recently been exposed to COVID-19.
- Check in to the UH LumiSight app.
- Wear a mask and practice social distancing.
- Report at your scheduled lab time with the instructor/lab monitor.
- Remember to turn on/off the computer monitors using the remote controls nearby.
- Please turn off the lights and ensure the door is securely locked upon leaving.
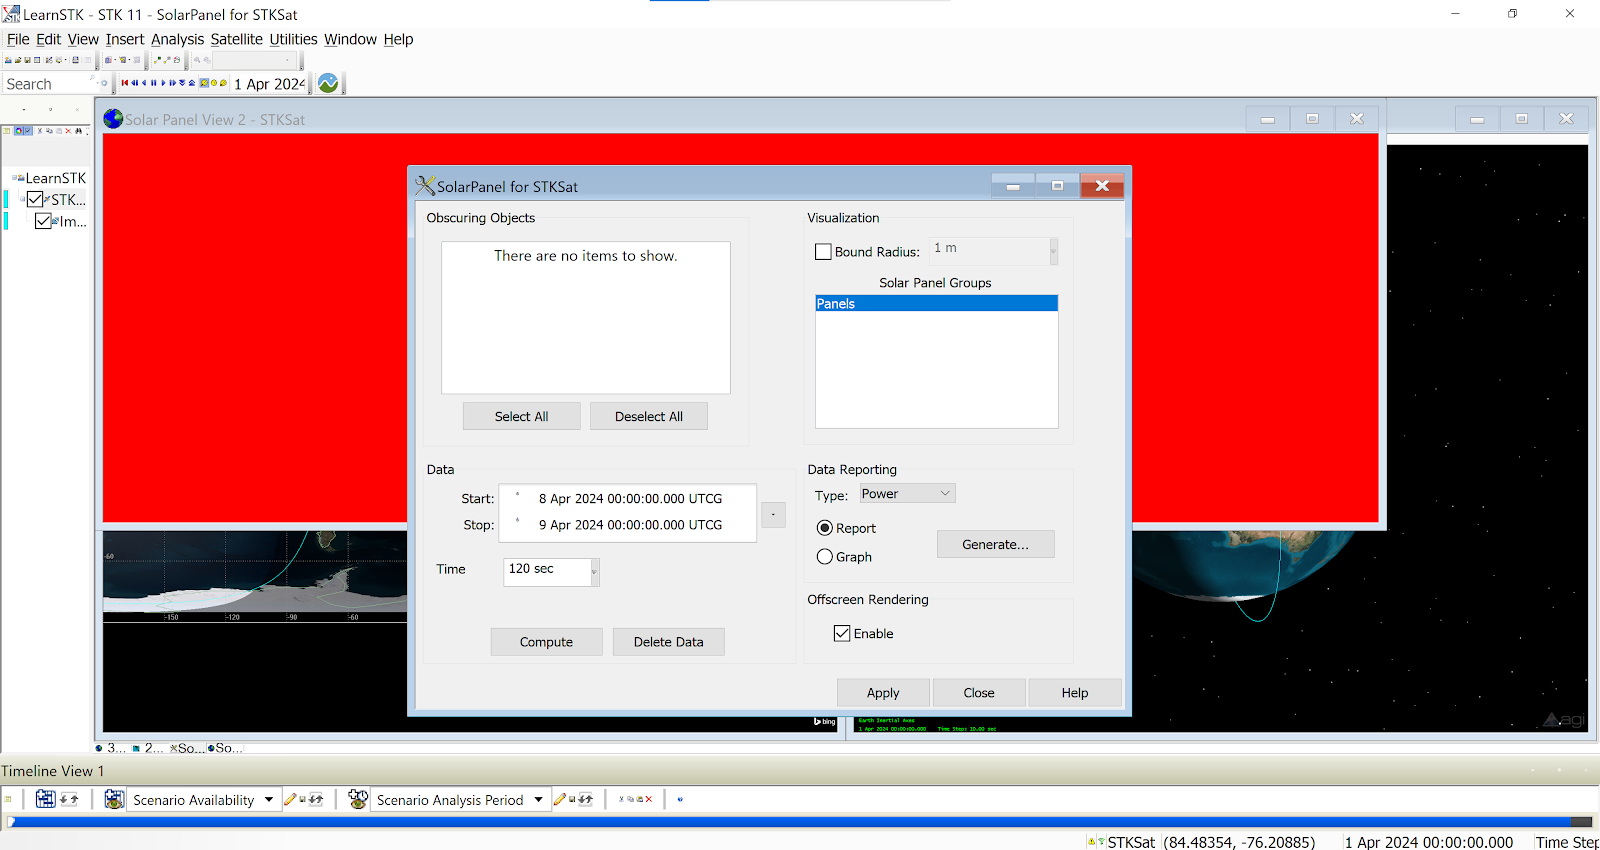
Sample screenshots from the tutorial:


Lab Review and Deliverables
Demonstrating orbit of a spacecraft (using the free version of STK)
Take a screenshot of the 3d view and 2d plot of the satellite’s modeled orbit. Share the Pass Data report generated.
Desired outcomes to analyze (using the professional version of STK)
- Solar irradiance
- Input surface area of solar panels
- Solar panels efficiency
- How to calculate the power generated from results
Share the solar panel report and graphs generated.
Safety and Best Practices Tips
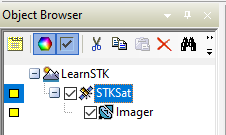
- Right-click on objects in the Object Browser tree to view different actions/options for the selected object.

- Keep the various windows in STK organized using the Window from the STK Menu bar.
- If the satellite of interest goes out of view for any reason in the 3D Graphics view (e.g. zooming too far in, and “losing sight” of the satellite)
- Use the View From/To feature
- Select a body to keep the view on.
- Use the 3D Graphics Window’s Central Body feature ()
- Select a different central body to view from the drop-down menu, then re-select Earth.
- Use the View From/To feature
Alternative Activities
Explore additional STK resources
- STK Data (terrain, imagery, 3D models, example scenarios)
- STK Discussion Forum
- Code samples using STK’s programming interface
References and Other Work
- Learning how to use STK
- Go to start.agi.com to start learning STK online with video guidance (via STK Help).
- Register for free certification to validate your STK knowledge.
- Check out our DIY series to explore more specific capabilities.
- AGI: Training and Certification Resources available:
- Tutorials created by AGI are available through Instructor-Led Live Training and On-Demand, self-paced courses.
- Sign up for online training sessions (schedule updated regularly) or view resources provided to walk you through using STK.
- Level 1 and 2 Training Modules PDF (December 2020)
- The entire STK Help website provides a wealth of step-by-step instructions on how to use STK.
- AGI: Tech Tips
- Intro to using STK with Hubble, from Miguel A. Nunes
